


Creating a Dedicated Workspace for Jewelry Making: Benefits and Tips for Organizing
If you’re looking for tips on organizing your small jewelry studio, creating a dedicated workspace can be highly beneficial. Not only can it improve your concentration, efficiency, and innovation, but it can also prevent your jewelry-making materials from infiltrating every nook and cranny of your home. Regardless of the size of your space, you can still establish a practical and stimulating jewelry-making studio. This blog post will offer you advice and ideas for organizing your small jewelry-making studio.
Assessing Your Space: Tips for Maximizing Your Small Jewelry-Making Studio
It’s important to begin by assessing your space. Consider what you plan to accomplish in this area. If you intend to perform various tasks, such as creating beads, forging metal components, and stringing designs, but have limited space, storage solutions can come in handy. The good news is that all of these activities can be completed effectively in a small jewelry studio.
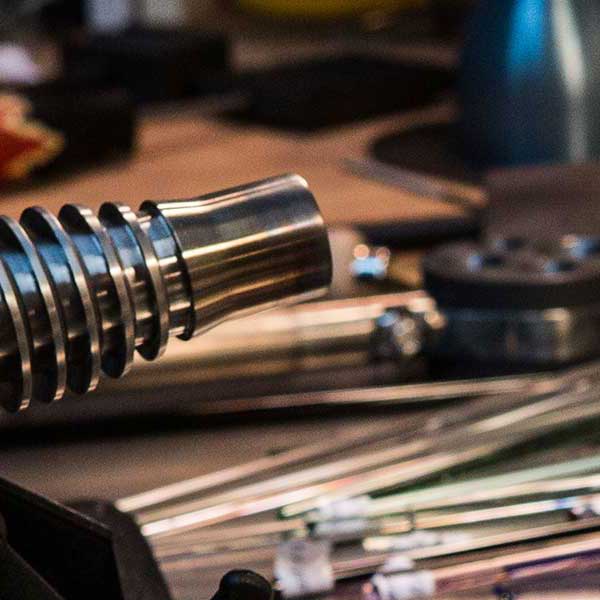
Setting Up Your Workstation: Essential Elements for Comfort and Organization
When organizing a small jewelry studio, it’s crucial to create a comfortable, functional, and well-organized workstation. This includes a sturdy tabletop, a comfortable chair, and good lighting. To optimize your available space, consider using your vertical space for storage. Wall-mounted shelves are a practical solution that allows you to store your supplies and tools off your workspace while keeping them easily accessible. Another versatile option is the pegboard, which lets you hang your tools and supplies on hooks while adding shelves or baskets for additional storage. Framed corkboards are both visually appealing and useful for holding design drawings, reference photos, samples, and finished jewelry pieces. Finally, clear hanging organizers like those designed for shoes can be hung on a door or wall to provide a quick and easy mental inventory of your supplies.


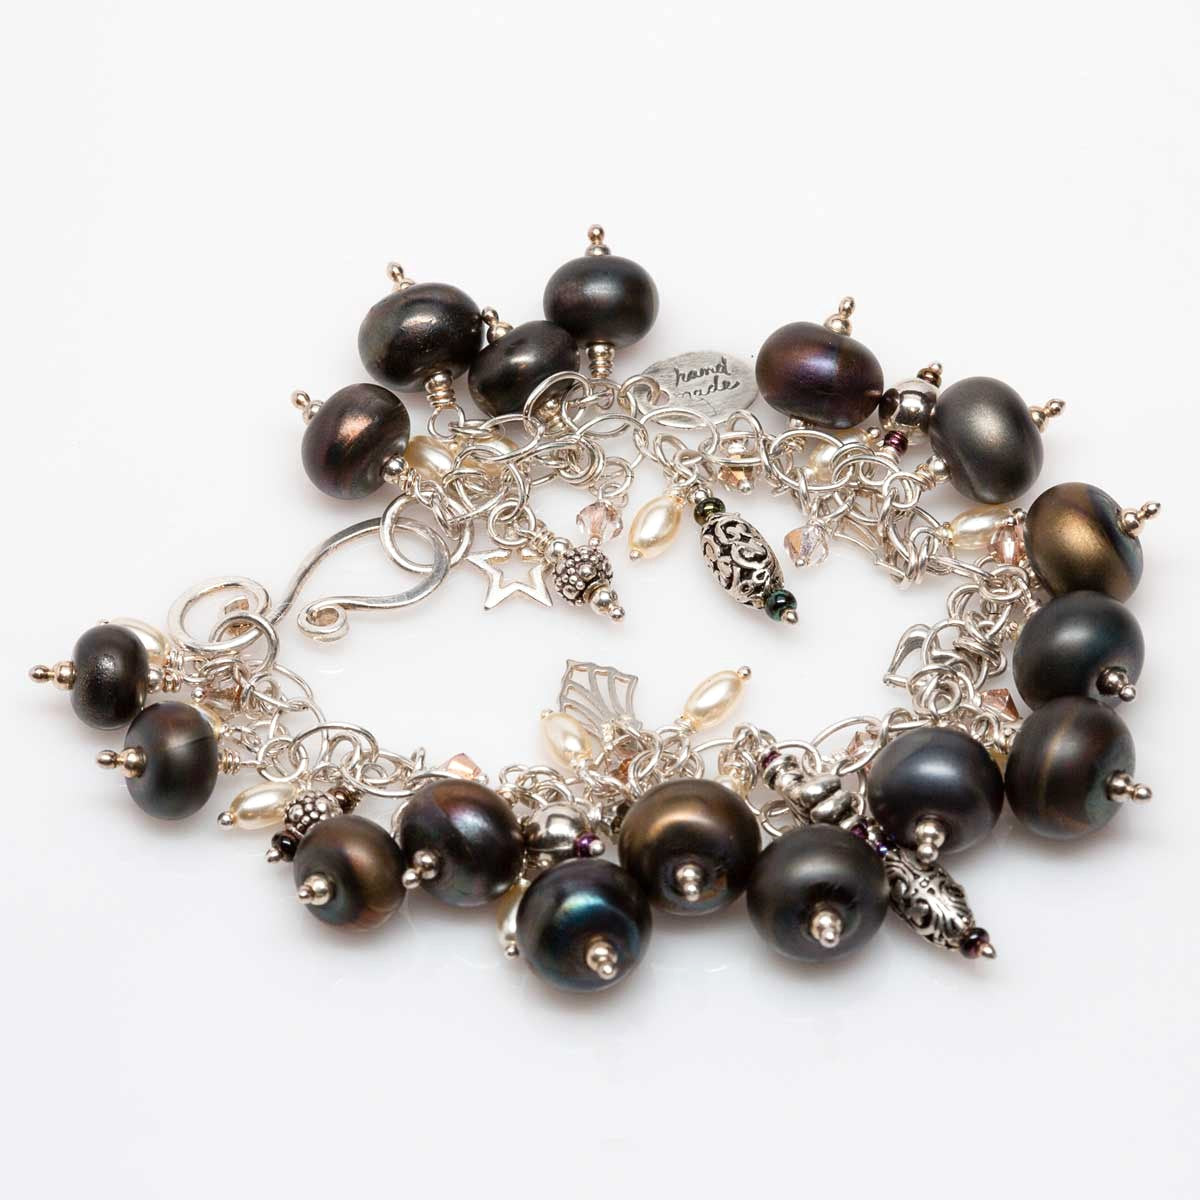
Storage Systems: Organizing Your Jewelry-Making Supplies for Accessibility and Efficiency
A good storage system is crucial for keeping your jewelry-making supplies organized and accessible. One of my personal favorites is using small, clear plastic containers that screw together in towers of 5 or 6 segments. Organize them by category and label them with the supplier’s part number for easy re-ordering.
For miscellaneous beads and components, store them in clear baggies and sort them into a shoebox labeled with the contents.
If you prefer to store supplies out of sight, consider a storage cabinet with drawers and compartments.


Lighting: Importance and Tips for Choosing the Right Light for Your Jewelry-Making Studio
When it comes to organizing a small jewelry-making studio, lighting is a crucial element. Good lighting ensures that you can see your work clearly and avoid mistakes that could compromise the quality of your pieces. Without adequate lighting, you may miss small details that can make a big difference in your finished product.
There are several lighting options to consider, including gooseneck lights that are easy to mount and adjust, as well as desktop lamps. However, keep in mind that desk lamps can take up valuable tabletop space. If possible, working in natural light is ideal. But, if you don’t have a window in your workspace, opt for light bulbs that offer daylight conditions to mimic natural light.


A Well-Organized Jewelry-Making Studio: Increasing Productivity and Creativity
A well-organized jewelry-making studio can increase productivity, creativity, and enjoyment. A larger workspace doesn’t necessarily equate to better organization, and a small space can be just as efficient and comfortable. Remember to be creative and inventive with your storage solutions.
I hope that you found some valuable insights in this blog post. If you would like to showcase your jewelry studio setups, don’t hesitate to leave a comment below or share them on your preferred social media platform. Kindly tag @moltenglasscreations when you do.